Difference between revisions of "Content Dev:CTA Uploader"
Chuck (RL) (Talk | contribs) m (→Editing Content in the Marketplace) |
Chuck (RL) (Talk | contribs) m (→Editing Content in the Marketplace) |
||
| Line 67: | Line 67: | ||
'''1) Edit:''' Allows for the editing of prices, names, thumbnails, etc. Once editing is complete, click on '''Save as Current Status''' to preserve the changes. | '''1) Edit:''' Allows for the editing of prices, names, thumbnails, etc. Once editing is complete, click on '''Save as Current Status''' to preserve the changes. | ||
| − | '''2) Multi-edit:''' If you want to input the same information for multiple content entries, you can tick off the checkboxes to the left of the contents and click on '''Batch Edit Selected'''. | + | '''2) Multi-edit:''' If you want to input the same information for multiple content entries, you can tick off the checkboxes to the left of the contents and click on '''Batch Edit Selected'''. In the following form, you'll notice the copy icon to the right of every entry field. You can click on this icon to replace the entry field of the other selected items with the current value. When you have finished, make sure to click on '''Save and Exit''' to preserve the modifications. |
{{Notice|Once something is published, it will be sold in the Marketplace and can not be removed.}} | {{Notice|Once something is published, it will be sold in the Marketplace and can not be removed.}} | ||
Revision as of 23:45, 5 December 2017
- Main article: Content Development.
General Process
- Finish your content with Reallusion approval.
- Finish your commercialization images with Reallusion approval.
- Upload the final content.
- Assemble the pack in the Marketplace.
- Download your own content for testing.
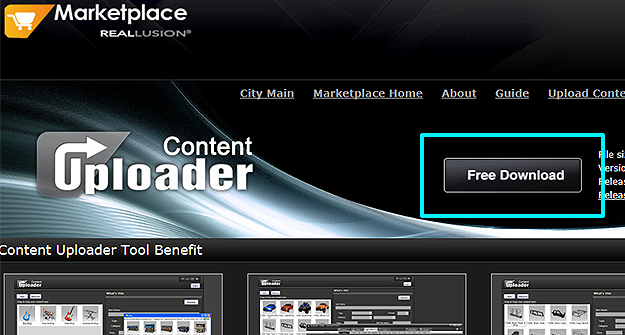
The Uploader
You can download the "Uploader" from https://city.reallusion.com/upload.html
The instructions are on the same download page.
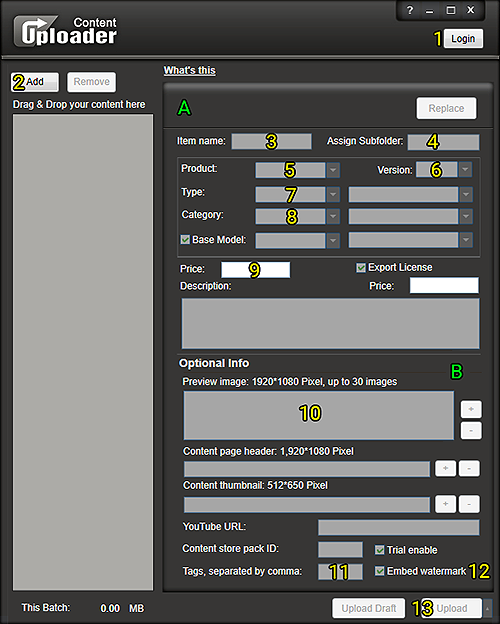
Uploader User Interface
|
|
A) Required information section.
|
Editing Content in the Marketplace
In order to change modify your content for the Marketplace, you can click on Manage My Content in the Uploader to open the webpage to your Marketplace account. Inside your account, you'll find all of the items that you have uploaded.
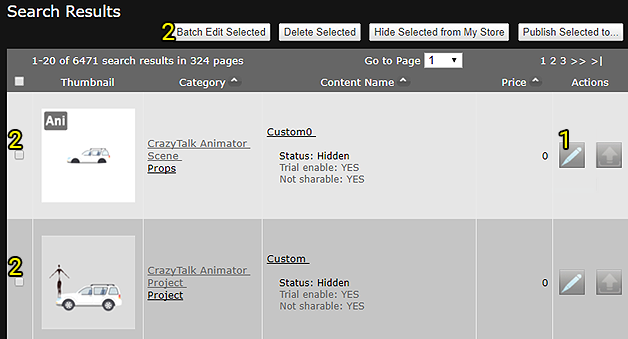
1) Edit: Allows for the editing of prices, names, thumbnails, etc. Once editing is complete, click on Save as Current Status to preserve the changes.
2) Multi-edit: If you want to input the same information for multiple content entries, you can tick off the checkboxes to the left of the contents and click on Batch Edit Selected. In the following form, you'll notice the copy icon to the right of every entry field. You can click on this icon to replace the entry field of the other selected items with the current value. When you have finished, make sure to click on Save and Exit to preserve the modifications.
- ⚠ Once something is published, it will be sold in the Marketplace and can not be removed.