Content Dev:CTA Thumbnailing
From Reallusion Wiki!
- Main article: CTA Prop Creation.
Provided Files
Use the following files to help you create thumbnails:
| File | Description and Usage | Note | Download |
|---|---|---|---|
| Prop.ctproject | For static props | Doesn't include render styles | Prop.rar |
| Ani Prop.ctproject | For animated props | Doesn't included render styles | Ani_Prop.rar |
Thumbnail Creation Process
Static Props
(1) Open the Prop.ctproject and bring the prop onto the stage.
(2) Perform Export > Image.
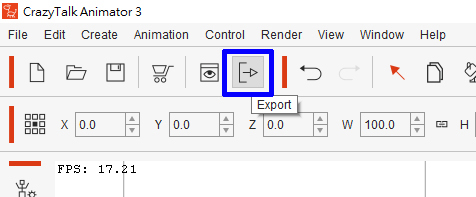
 The stage will turn into a square aspect ratio -- because thumbnails are square.
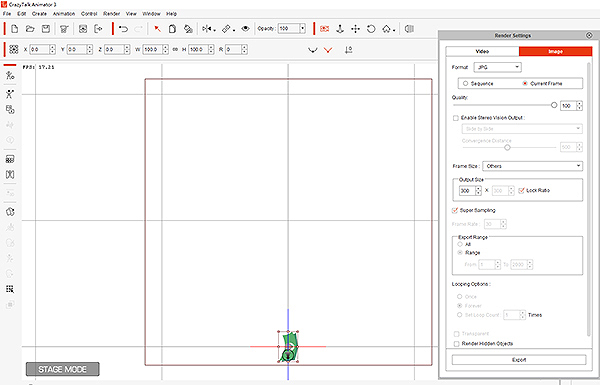
(3) Scale the prop to fill the square stage.
(4) Go to Render Settings > Export to create a thumbnail image.
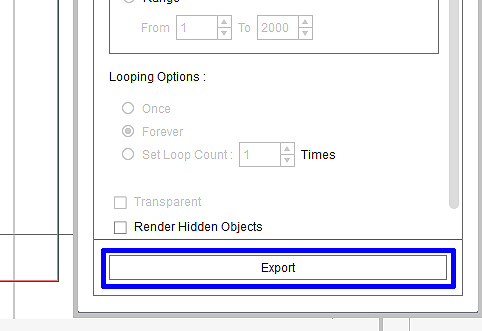
The thumbnail image will be exported in 300x300 pix size

Animated Props
(1) Open Ani Prop.ctproject
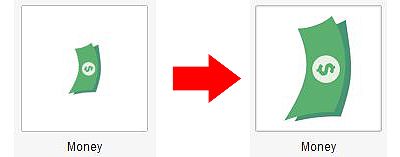
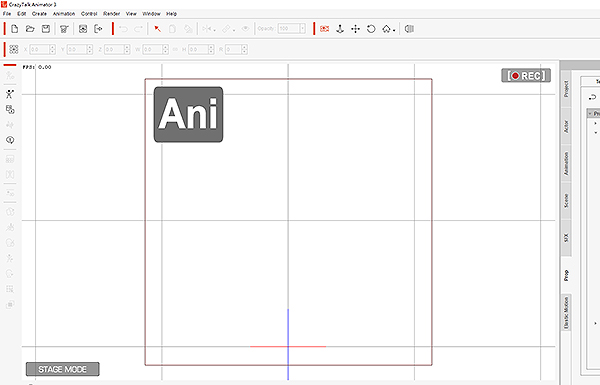 Notice the Ani displayed in the upper left corner.
(2) Bring the finished animated prop onto the stage.
(3) Perform Export > Image and resize the image to fit the square stage.
(4) Press the Export button to create a 300x300 px image.
The Ani display text tells the user that this prop has motion.

Applying the Thumbnail Image
(1) Perform Content Manager > Load Thumbnail.
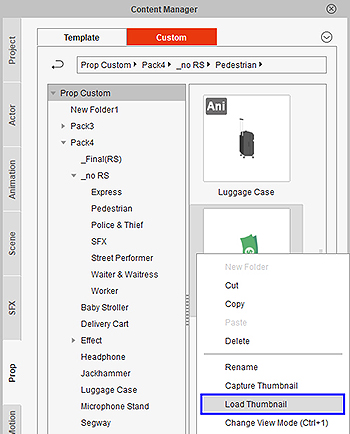
(2) Select the appropriate thumbnail made by using the aforementioned steps.
 Developers have direct control over the image of the thumbnail.