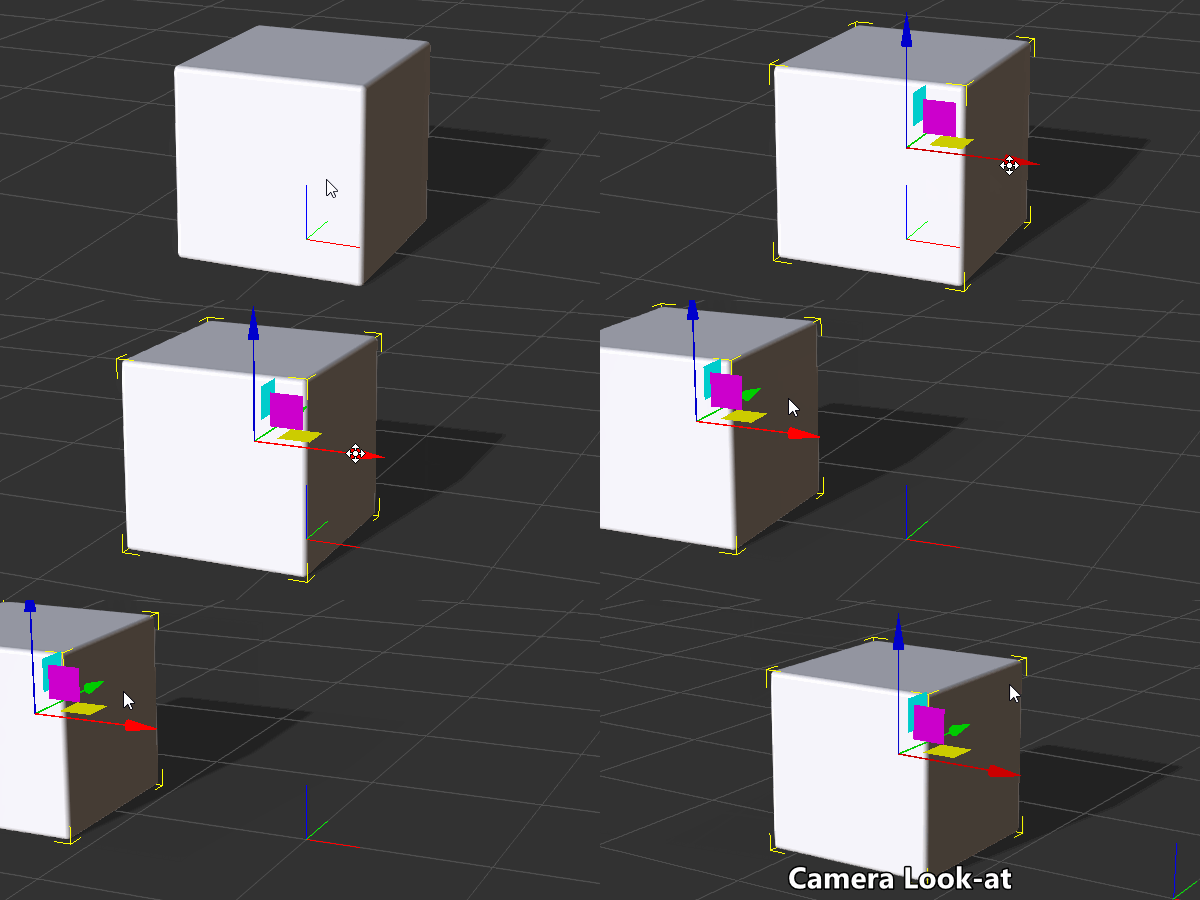
IC Python API:3D Look At
- Main article: Python of the Month.
This article will discuss one of the pillars of 3D mathematics for solving a very common problem. Specifically, how to face one item in the scene towards another similar to how Look at (O) is implemented for cameras in iClone. Keep in mind that the position of an item is set by its pivot point and will need to be adjusted if it is not in the desired location.
Necessary Modules
The only required module for this code is:
import RLPy
Look At Math
It is a good idea to tuck away complex math algorithms in easy to understand, reusable functions. Better still is to tuck all complex math functions under a unified class like Math3D for example. 3D math is not an easy subject matter but it's not a field you'll need to master in entirety. In fact, many resources exist online which just need some diligence and patience to uncover such as this one: http://www.technologicalutopia.com/sourcecode/xnageometry/matrix.cs.htm
So let's dive into the mathematical function we'll need to pull of a right-handed look at that is compatible with iClone's coordinate system:
- ⚠ iClone uses a right-handed Z-up coordinate system.
def look_at_right_handed(view_position, view_target, view_up_vector):
    # Look at takes two positional vectors and calculates the facing direction
    forward = view_position - view_target
    forward.Normalize()
    right = view_up_vector.Cross(forward)
    right.Normalize()
    up = forward.Cross(right)

    # Retun a right-handed look-at rotational matrix
    return RLPy.RMatrix3(right.x, right.y, right.z,         # X vector
                         up.x, up.y, up.z,                  # Y vector
                         forward.x, forward.y, forward.z)   # Z vector
The result of this formula is a rotational 3x3 matrix with the right, up, and forward vectors combined.
Important Takeaways
- The forward vector is the view position minus the target position normalized.
- Right vector is the cross product of the up vector and the forward vector normalized.
- Up vector is the cross product of the forward vector and the right vector.
- "Normalized" simply means that the magnitude of the vector will always equal to 1 unless it is too small, then a zero vector will be returned.
Preparing the Scene
In order to run this sample code you'll need to prepare a test scene:
- Create a new iClone project.
- Perform Create > Primitive Shape > Box (this box prop's pivot will be the look-at target).
- Move the box by -200 in the X-axis.
- Change the pivot of the box to the center under Modify > Pivot section.
- Perform Create > Camera
For the items to be useful in code, we'll need to reference them and their transform data:
# Grab the elements in the scene and their world transforms
camera = RLPy.RScene.FindObject(RLPy.EObjectType_Camera, "Camera")
box = RLPy.RScene.FindObject(RLPy.EObjectType_Prop, "Box")
camera_wt = camera.WorldTransform()
box_wt = box.WorldTransform()
Pointing the Camera
Now that all the elements are in place, we'll need to call the look_at_right_handed function to point the camera towards the box.
# Up-vector for camera is (0,0,1)
m3_orientation = look_at_right_handed(
    camera_wt.T(), box_wt.T(), RLPy.RVector3.UNIT_Z)

# Convert rotational 3x3 matrix to Eular angles
x = y = z = 0
e_rotation = m3_orientation.ToEulerAngle(RLPy.EEulerOrder_XYZ, x, y, z)

# Rotational values need to be qualified with RLPy.RVariant()
data_block = camera.GetControl("Transform").GetDataBlock()
data_block.SetData("Rotation/RotationX", RLPy.RTime(0), RLPy.RVariant(e_rotation[0]))
data_block.SetData("Rotation/RotationY", RLPy.RTime(0), RLPy.RVariant(e_rotation[1]))
data_block.SetData("Rotation/RotationZ", RLPy.RTime(0), RLPy.RVariant(e_rotation[2]))
Notice that the actual rotations are conducted in Euler angles which was converted from the rotational 3x3 matrix calculated by the 3D mathematical function. When the code is run, you'll see the following result:
Everything Put Together
You can copy and paste the following code into a PY file and load it into iClone via Script > Load Python.
import RLPy

def look_at_right_handed(view_position, view_target, view_up_vector):
    # Look at takes two positional vectors and calculates the facing direction
    forward = view_position - view_target
    forward.Normalize()
    right = view_up_vector.Cross(forward)
    right.Normalize()
    up = forward.Cross(right)

    # Retun a right-handed look-at rotational matrix
    return RLPy.RMatrix3(right.x, right.y, right.z,         # X vector
                         up.x, up.y, up.z,                  # Y vector
                         forward.x, forward.y, forward.z)   # Z vector


# Grab the elements in the scene and their world transforms
camera = RLPy.RScene.FindObject(RLPy.EObjectType_Camera, "Camera")
box = RLPy.RScene.FindObject(RLPy.EObjectType_Prop, "Box")
camera_wt = camera.WorldTransform()
box_wt = box.WorldTransform()

# Up-vector for camera is (0,0,1)
m3_orientation = look_at_right_handed(
    camera_wt.T(), box_wt.T(), RLPy.RVector3.UNIT_Z)

# Convert rotational 3x3 matrix to Eular angles
x = y = z = 0
e_rotation = m3_orientation.ToEulerAngle(RLPy.EEulerOrder_XYZ, x, y, z)

# Rotational values need to be qualified with RLPy.RVariant()
data_block = camera.GetControl("Transform").GetDataBlock()
data_block.SetData("Rotation/RotationX", RLPy.RTime(0), RLPy.RVariant(e_rotation[0]))
data_block.SetData("Rotation/RotationY", RLPy.RTime(0), RLPy.RVariant(e_rotation[1]))
data_block.SetData("Rotation/RotationZ", RLPy.RTime(0), RLPy.RVariant(e_rotation[2]))
APIs Used
You can research the following references for the APIs deployed in this code.
