Content Dev:CC Normals Bake
- Main article: CC Content Development.
The Current Problem
Lax normal implementation for general props in iClone will have no problems. However, when the same normals implementation is applied to a skinned mesh and brought into iClone, problems do occur. This is because normal recalculations inside iClone will result in shading artefacts.
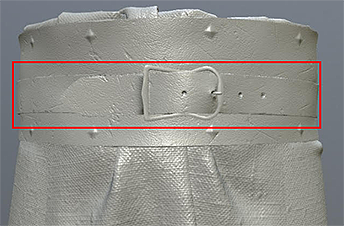 Before the application of skin weights.
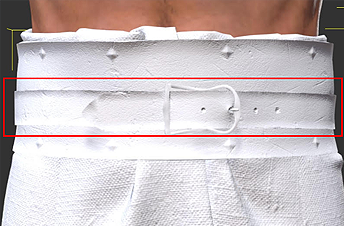 After the application of skin weights.
Particularly obvious are the concave shading effects on the skinned mesh. Working backwards to fix the normals for the skinned mesh will, in turn, cause shading problems when applied to a prop. Continue reading this article to acquire the know-how for creating normal maps that is compatible with both props and characters inside CC and iClone along with any other major third party 3D software.
Normals Baking Process
Basic Workflow
Prior Problematic Workflow
- Align the high and low poly geometries.
- Completely smooth the surface normals for the low poly geometry as a single smoothing group.
- Create the offset cage.
- Bake the normal map from high to low poly.
Latter Improved Workflow
- Align the high and low poly geometries.
- Apply appropriate smoothing groups to the low poly mesh.
- Split UV seams along hard edges according to the smoothing groups.
- Create the offset cage.
- Bake the normal map from high to low poly.
- ⚠ Most drastic changes in the new workflow is in the handling of smoothing groups, UV splitting and bake cage creation.
Important Points
Smoothing Groups
The point of smoothing groups is to create hard and soft surface shading. This relieves the normal map from having to change a smooth look to a hard look for broad surfaces, and vice versa. Instead, the normal map can be left to its strengths, which lies in the rendering of fine details.
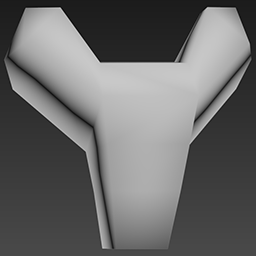 Smoothing group set to soft for the low poly baking geometry.
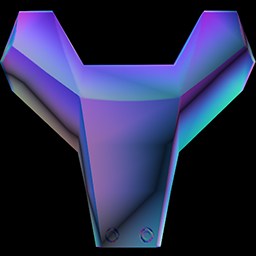 Results in shading artefacts for hard edged surfaces.
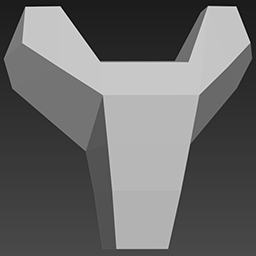 Smoothing group set to hard for the low poly baking geometry.
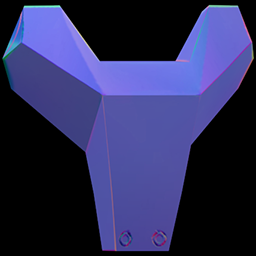 Results in correct shading for hard edged surfaces.
As illustrated, when a hard surface object does not have proper smoothing groups, then the baked normal map will create a gradient effect across mesh faces of large surface angles. This also has a slight effect on the lighting of object. Smoothing groups should be set when dealing with hard surfaces with acute surface angles.
UV Seams Separation
Black edges often appears in the normal map that is produced from a low poly mesh with smoothing group set to hard. Which, can be fixed by using UV split and separation. This problem is the result of the inability of the UV line to sample the appropriate side of a hard edge, resulting in a gap where nothing is sampled.
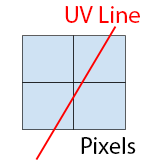 A UV line sampling across several pixels.
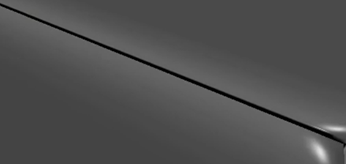 During the bake, the UV edge erroneously samples from both sides of the hard edge, creating a black line.
Creating the Bake Cage
The use of a projection cage can prevent bake artefacts from ray mis-direction by providing a target for the ray to point toward. Ray mis-directions can result in strange shading on the mesh, particularly around hard edges.
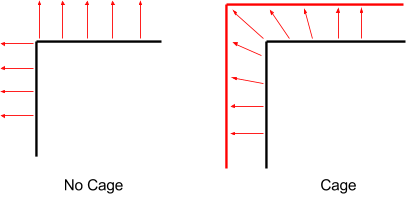 A cage can control the shooting direction of the projection rays during the baking process.
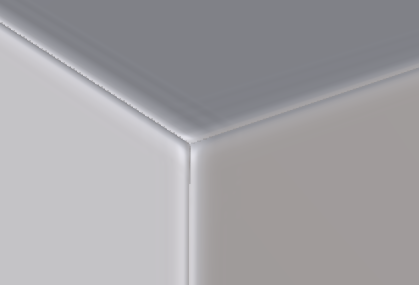 Normal artefacts due to cageless projection.
 Good results from the implementation of a cage.
Using xNormal's SBM Format
3DS Max SBM plugin
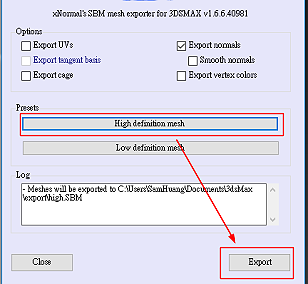
1) Select the high poly model for export and select xNormal SBM Exporter (*.SBM) in the dropdown menu.
2) Click on the High definition mesh and press on the Export button.
- Some things must be done to the low poly model before it can be exported.
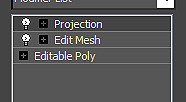
3) On the Editable Poly apply an Edit Mesh modifier or change the model type to Mesh. This step is needed because xNormal can not create a cage from Poly or Path.
4) Apply a Projection modifier on top of the modifier stack and export the low poly in (*.SBM) format.
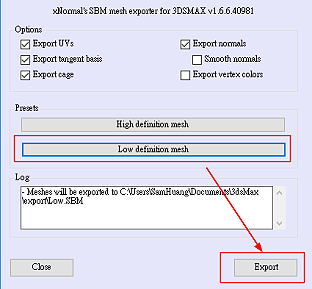
5) Select Low definition mesh and press the Export button.
6) Pay attention to the Log message and adjust the export process when necessary to export the mesh successfully.
 Message for successful export.
 Message for unsuccessful export.
7) Launch xNormal and drag the mesh files into their respective low and high poly slots.
8) Make sure to enable Use cage option for the low poly file.
8) Set the export directory and image sizes then bake the textures.

