Content Dev:CC Eyes Teeth Replacement
- Main article: CC Avatar.
Prerequisite tools & files
This article will only explain the process using Maya as the main DCC software. However, the principles apply universally as long as your chosen 3rd party software has the ability to bind and paint skin weights.
| Requirement | Version | Purpose | Notes |
|---|---|---|---|
| 3D Tool (Maya) | 2020.3 and above | Model creation and binding | Tested with 2023.3 |
| Character Creator | CC4 | Base character import/export, material settings, and project management. | - |
| CC_Neutral_Base.fbx | - | Neutral base body geometry used for transformation. | - |
Workflow overview
- Preprocessing for CC4.
- Import the neutral base body.
- Export the body geometry including its *.fbxkey file.
- Adjustments in Maya
- Match the positioning of the replacement meshes to the imported mesh.
- Unbind the original eye/teeth geometry and bind the replacement meshes.
- Apply the original eye/teeth materials to the replacement meshes.
- Paint the skin weights for the replacement meshes.
- Bring the character back to CC4
- Bring the body mesh back to CC4 and update the texture maps.
- Double check the material settings.
- Save the new *.ccEye / *.ccTeeth components.
Default eyeball mesh structure
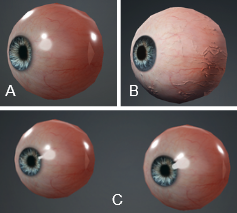
Each eyeball for the neutral body is composed of two meshes consisting of the iris (A) and the eyeball (B). So in total, the eyes are composed of 4 separate meshes that are merged into one (C).
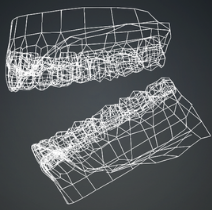
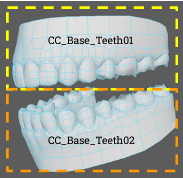
The default teeth mesh are composed of the upper and lawer jaws merged as one geometry.
Creation limitations
Texture constraints
| Constraints | Default Mesh & UV | Custom Mesh & UV |
|---|---|---|
| Poly count | No limitation for the eyes and teeth. | No limitation for the eyes and teeth. |
| Meshes |
|
Unlimited number of meshes merged as one. |
| Materials |
|
|
| Texture size | 4096x4096 pixels | 4096x4096 pixels |
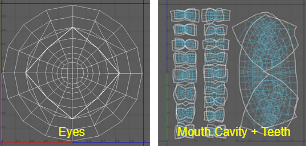
| UV layout | According to the size of the eye UVs. | No limitation for the eyes and teeth. |
Skin-weight constraints
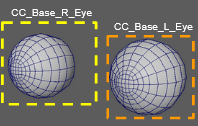
- Skin weights are required for "CC_Base_R_Eye", "CC_Base_L_Eye", "CC_Base_Teeth01", and "CC_Base_Teeth02".
- All weights need to be maximized to 1.0, as the skin weights for the rest of the body don't need to be accounted for.
- Under most circumstances, you'll need to skin bind the two eyes and the upper and lower teeth in the locations of the original meshes.
Material constraints
| Mesh | Shader | Shader_Type |
|---|---|---|
| Left eyeball | Std_Eye_R | PBR |
| Left iris | Std_Cornea_R | Digital_Human Eye |
| Right eyeball | Std_Eye_L | PBR |
| Right iris | Std_Cornea_L | Digital_Human Eye |
| Upper teeth | Std_Upper_Teeth | Digital_Human Gums |
| Lower teeth | Std_Lower_Tetth | Digital_Human Gums |
Preprocessing for CC4
Step 1
Execute Modify > Load Neutral Base.
Step 2
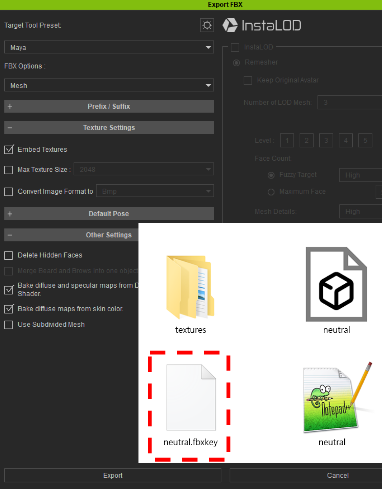
Directly export an FBX and make sure that the Fbxkey is exported as well.
Step 3
After importing the neutral base body, unbind the skin weights for the eyes and teeth in order to process the replacement mesh.
Step 4
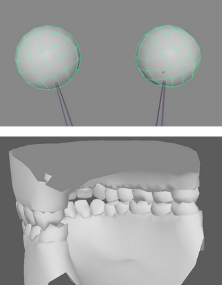
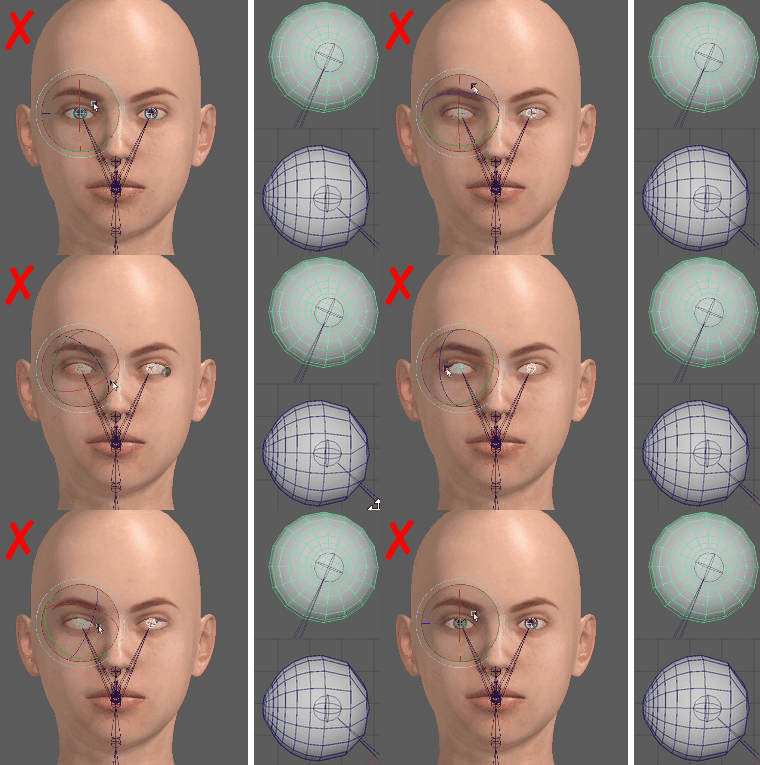
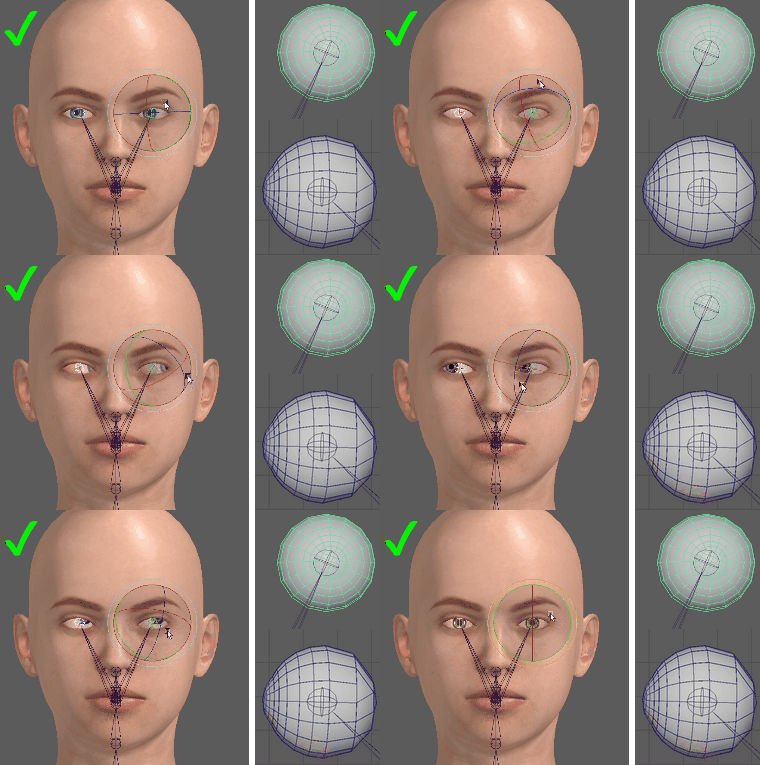
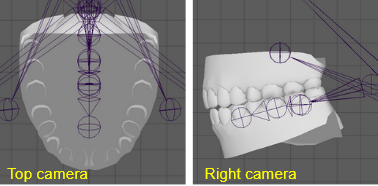
It's recommended to move the eyeball mesh itself in order to avoid intersections with the surrounding eyelid geometry.
Position the upper and lower jaws according to the following illustrations.
Step 5
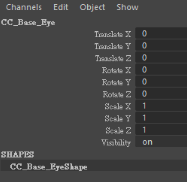
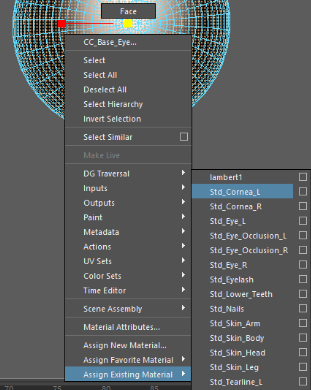
When you are renaming the eye parts according to the specification under material constraints, you can directly apply the original materials from the neutral base. This will also let CC4 automatically recognize the eyes.
Step 6
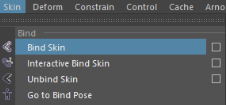
After you have selected the eyes and teeth, you can start the binding process then adjust the skin weights.
All weights need to be maximized to 1.0, as the skin weights for the rest of the body don't need to be accounted for.
Processing in CC4
Step 1
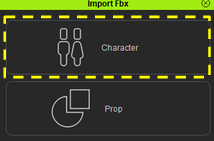
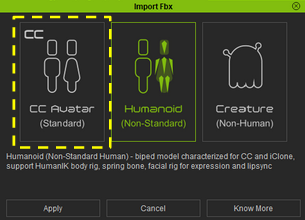
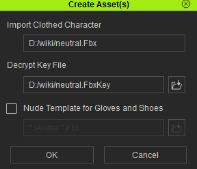
Once the updated model is imported into CC4, perform Character > CC Avatar > Create Asset. Remember you'll need the Fbxkey exported from the prior steps. Press the OK button to continue.
Step 2
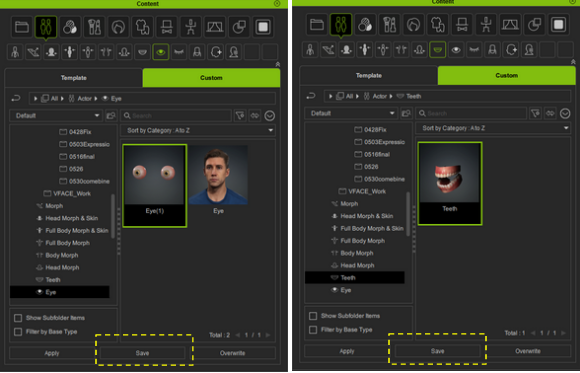
Once you have verified the textures and shaders, select the eyes and teeth then click on the Save button. The meshes will be saved as ccEeye and ccTeeth respectively.
