Difference between revisions of "Content Dev:CTA Thumbnailing"
From Reallusion Wiki!
Chuck (RL) (Talk | contribs) m (→=) |
Chuck (RL) (Talk | contribs) m (→Static Props) |
||
| Line 18: | Line 18: | ||
=== Static Props === | === Static Props === | ||
| + | '''(1)''' Open the '''Prop.ctproject''' and bring the prop onto the stage. | ||
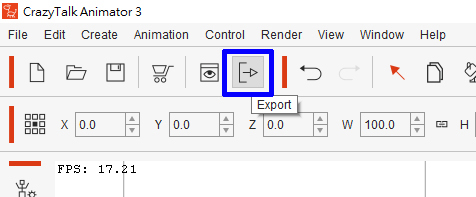
| + | '''(2)''' Perform '''Export > Image'''. | ||
| + | {{Single_Illustration|CTA_Thumbnailing_01.jpg}} | ||
| + | {{Single_Illustration|CTA_Thumbnailing_02.jpg|The stage will turn into a square (because thumbnails are square).}} | ||
| + | |||
| + | '''(3)''' Scale the prop to fill the square stage. | ||
| + | |||
| + | '''(4)''' Go to '''Render Settings > Export''' to create a thumbnail image. | ||
| + | |||
| + | {{Single_Illustration|CTA_Thumbnailing_04.jpg}} | ||
| + | |||
| + | {{Text_Block|The thumbnail image will be exported in 300x300 pix size}} | ||
| + | |||
| + | {{Single_Illustration|CTA_Thumbnailing_Money.jpg}} | ||
=== Animated Props === | === Animated Props === | ||
Revision as of 23:01, 19 July 2017
- Main article: Reallusion Content Development.
Provided Files
Use the following files to help you create thumbnails:
| File | Description and Usage | Note | Download |
|---|---|---|---|
| Prop.ctproject | For static props | Doesn't include render styles | Prop.rar |
| Ani Prop.ctproject | For animated props | Doesn't included render styles | Ani_Prop.rar |
Thumbnail Creation Process
Static Props
(1) Open the Prop.ctproject and bring the prop onto the stage.
(2) Perform Export > Image.
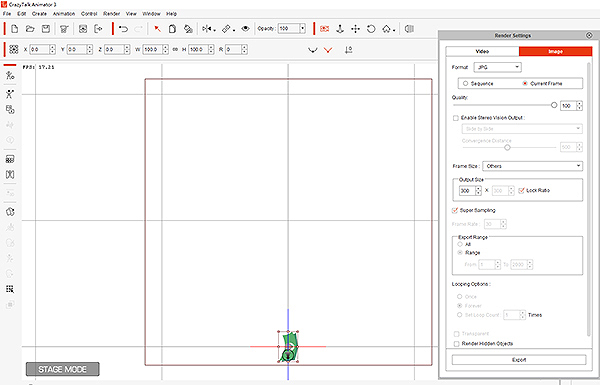 The stage will turn into a square (because thumbnails are square).
(3) Scale the prop to fill the square stage.
(4) Go to Render Settings > Export to create a thumbnail image.
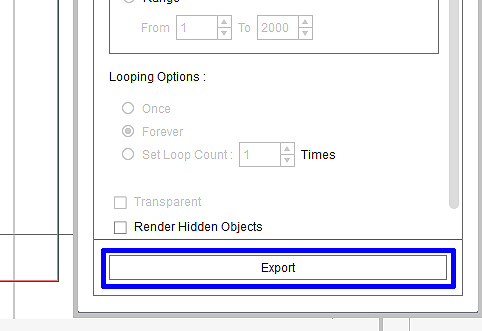
The thumbnail image will be exported in 300x300 pix size