Difference between revisions of "Content Dev:CC Asset Publication"
Chuck (RL) (Talk | contribs) m |
Chuck (RL) (Talk | contribs) m |
||
| Line 1: | Line 1: | ||
{{TOC}} | {{TOC}} | ||
{{Parent|Content_Dev: CC_Asset|CC Asset Development}} | {{Parent|Content_Dev: CC_Asset|CC Asset Development}} | ||
| + | |||
| + | == Using Smart Gallery == | ||
| + | |||
| + | As of 2020, the Smart Gallery is the preferred way to upload user content. The benefits includes: | ||
| + | |||
| + | #The upload speed is faster. | ||
| + | #The file path only needs to be sorted once, and the path downloaded by User is the same as the path in Developer. | ||
| + | #Previously, Uploader was uploaded in the form of item, and SmartGallery was uploaded in the form of Pack, so the Pack will be created automatically. | ||
| + | #Easy to update (Replace) files, no need to enter Content ID yourself | ||
| + | #Some information in the entity file is automatically filled in the Marketplace form, reducing human errors. | ||
| + | #After uploading, you can download and check from SmartGalley immediately, the process is more smooth | ||
| + | |||
| + | === Smart Gallery Procedure === | ||
| + | |||
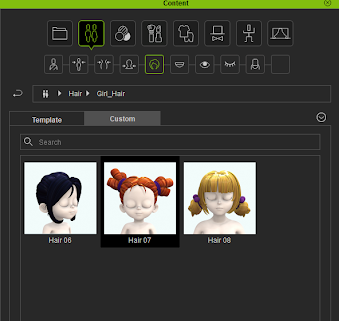
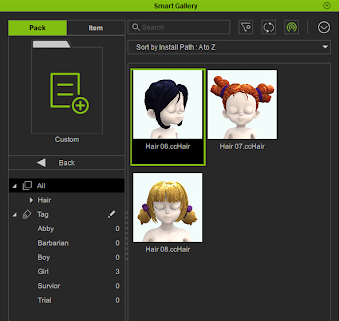
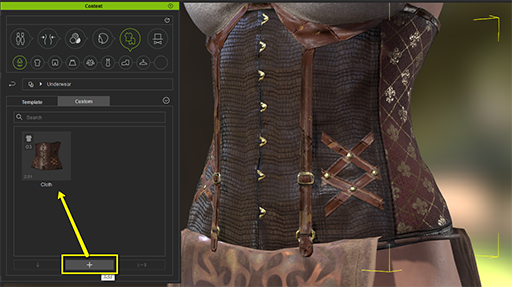
| + | 1. After pressing the + sign from the Content Manager to archive, the data will be automatically recorded in the SG Custom Pack. | ||
| + | 2. The relevant paths in the Custom folder will be recorded inside, and these paths will also be regarded as the install path after uploading, so it is recommended to organize the folder paths first. | ||
| + | |||
| + | <div><ul> | ||
| + | [[File:rl_wiki_smart_gallery_01.png]] </li> | ||
| + | [[File:rl_wiki_smart_gallery_02.png]] </li> | ||
| + | </ul></div> | ||
| + | |||
| + | [[File:rl_wiki_smart_gallery_03.png|right]] | ||
| + | |||
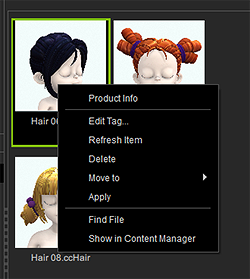
| + | 3. To start uploading files, you can right-click in the Custom Pack (Custom Pack itself cannot upload files), and move the file to the Pack to be uploaded* | ||
| + | |||
| + | The Pack Name established now is the Pack Name you will see later on the Marketplace. | ||
| + | |||
| + | 4. Like Cloth or Accessory, if it is saved in the Arm folder, Category will automatically be displayed as Arm, and when saved to Others, Others will appear; it is the same as the one displayed on the left of SmartGallery. | ||
== Using the Content Uploader == | == Using the Content Uploader == | ||
Revision as of 22:00, 24 September 2020
- Main article: CC Asset Development.
Using Smart Gallery
As of 2020, the Smart Gallery is the preferred way to upload user content. The benefits includes:
- The upload speed is faster.
- The file path only needs to be sorted once, and the path downloaded by User is the same as the path in Developer.
- Previously, Uploader was uploaded in the form of item, and SmartGallery was uploaded in the form of Pack, so the Pack will be created automatically.
- Easy to update (Replace) files, no need to enter Content ID yourself
- Some information in the entity file is automatically filled in the Marketplace form, reducing human errors.
- After uploading, you can download and check from SmartGalley immediately, the process is more smooth
Smart Gallery Procedure
1. After pressing the + sign from the Content Manager to archive, the data will be automatically recorded in the SG Custom Pack. 2. The relevant paths in the Custom folder will be recorded inside, and these paths will also be regarded as the install path after uploading, so it is recommended to organize the folder paths first.
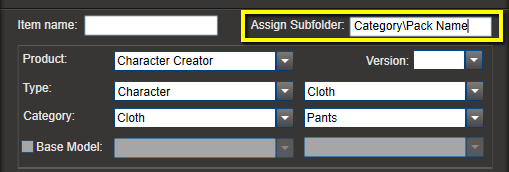
3. To start uploading files, you can right-click in the Custom Pack (Custom Pack itself cannot upload files), and move the file to the Pack to be uploaded*
The Pack Name established now is the Pack Name you will see later on the Marketplace.
4. Like Cloth or Accessory, if it is saved in the Arm folder, Category will automatically be displayed as Arm, and when saved to Others, Others will appear; it is the same as the one displayed on the left of SmartGallery.
Using the Content Uploader
The following information will help you save content in CC and iClone format and use the Uploader to bring it into the Marketplace.
Create Content via Character Creator
CC Content
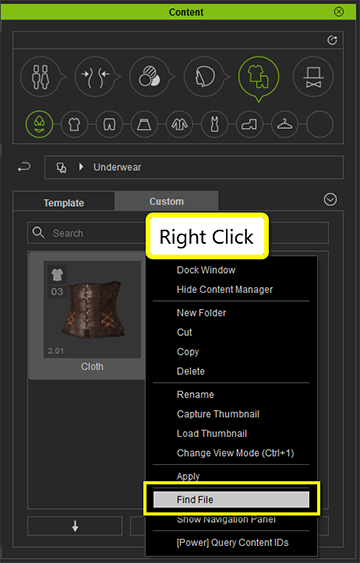
To export CC Content from Character Creator, select the content in the viewport and press the "+" icon on the right category of Content Manager. Once the content is successfully saved under the "Custom" section, right click on the content to find the file.
Sending Content to the Marketplace via the Uploader
Currently, any content that is to be sold on the Marketplace needs to be sent via the Content Uploader. You can edit and save your content information before uploading, and once you upload the content, it will be accessible from your Marketplace account backend so you don’t have to wait for approval before you begin selling. Aside from the content files, you can set the name, description and price of the specific content, and upload all the promotional materials at the same time.
Step 1) Start the Uploader.
Step 2) Add the content you are going to upload by drag-and-drop or clicking the "Add" button.
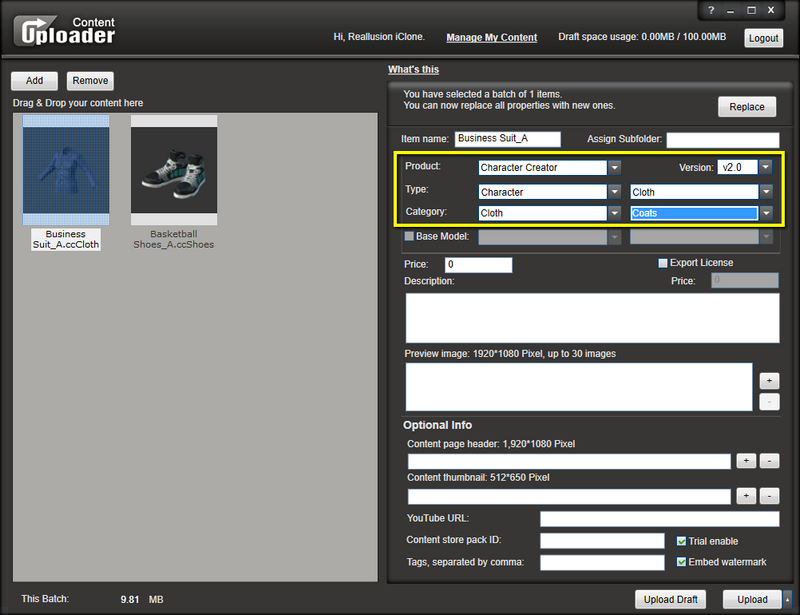
Step 3) Assign the Subfolder, which will be the categorical placement of the asset inside CC's Content Manager to your local disk.
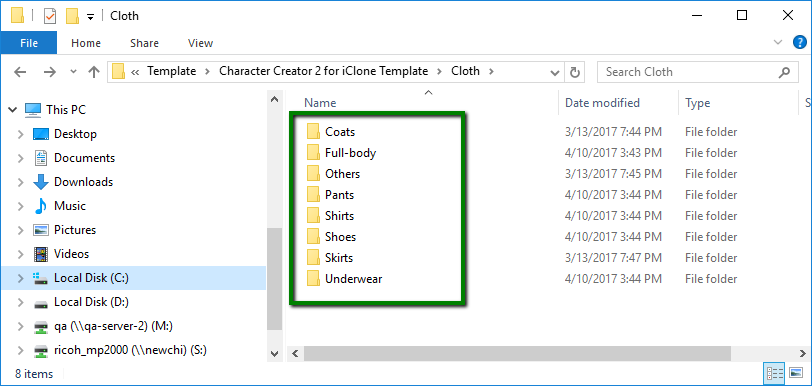
Category: Coats, Full-body, Others, Pants, Shirts, Shoes, Skirts, Underwear.
Pack Name: You can designate the item as part of a pack.

Step 4) Select the right category when uploading.
