Content Dev:CTA4 Character Creation Process
- Main article: CTA Actor Creation.
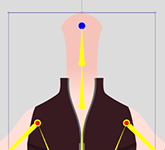
Head Related Bone Point
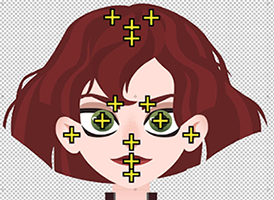
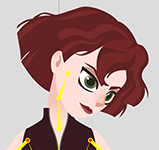
The center point of a long object will be placed close to one end for easy rotational adjustments, such as eyebrows and long hair pieces. The ears will be placed at the sides of the face near the center line with the pivot for the eyes aligned with the pupils. The face sides should be placed below the jaw line matching or near the Head Bone point.
- ⚠ The Bone point is a one-time settings, so it is urgent to get the settings just right before turning the head. Otherwise, modifications to the Bone point will require modifications to the subsequent head-turn settings and expressions.
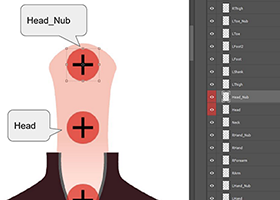
The neck body part must be stretched to the center point of the face with the Head_Nub bone point set at its location. This setting will let the character turn his/her head while the neck bends according to expectation.
Bone Point Parent Relation
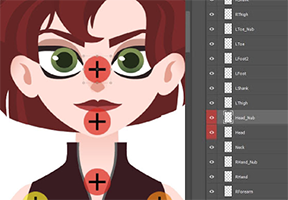
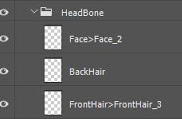
Please make sure that the object is parented under their corresponding parent items to prevent isolated objects. For example, the bangs should be placed under the Front Hair and the facial parts should be placed under the Face. You should name the parts according to their eventual bone names. For example, Face > Face2 means that Face2 is the child bone of Face.
Facial Angle Image Switch Settings
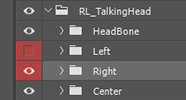
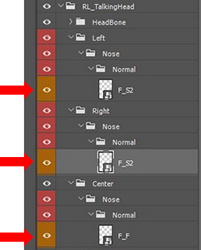
Left and right facial part image switching (like the nose) is designated by the various turning angles in Photoshop. You can download the basic PSD structure template here. The silhouette for the sides of the face is not constructed from switching images, rather it is composited together from various elements which should be placed under the Center category.
You should place the images in the lowest level directory of each category. For example, inside Center > Nose > Normal instead of just Center > Nose or Center. If placed, say in the Center > Nose folder, the element may appear inside the Composer but will become invisible in the Stage.
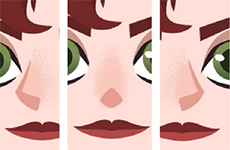
When creating the left and right side graphics, make sure they remain coherent with the center image. Therefore the parts feel as if they are the left and right side of an object. You can utilize differences in outlines and shadows to consolidate the look of the individual parts like in the figure to the left.
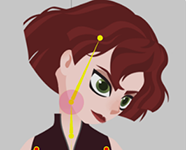
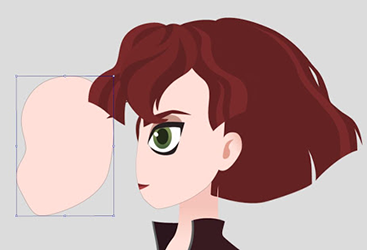
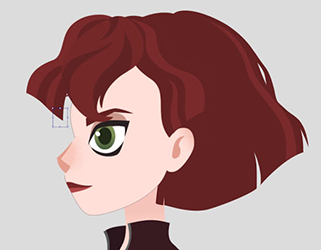
In order to make the head turn believable, you can place different images for different angles of the face. Then composite it with facial elements to simulate a complete head turn to the side.
