Content Dev:Scan to CC3+ Asset Preparation
- Main article: CC Avatar Content Production.
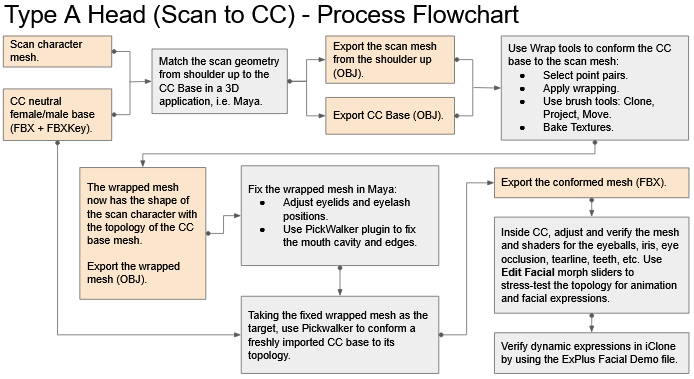
Main Workflow Overview
Prerequisite Files
The following software and provision files were carefully selected during in-house production. These solutions are recommended to take the guesswork out of your first iteration of the entire 'scan to CC' process.
Required Software
| Software | Vendor | Note | Product Page |
|---|---|---|---|
| Maya | Autodesk | You'll need to install the PickWalker script. | https://www.autodesk.com/products/maya/ |
| Wrap | R3dS | You should watch all of their "Getting Started" videos (bottom of the product page). | https://www.russian3dscanner.com/ |
| Creator Creator | Reallusion | Sponsored developers can request a free license of Headshot by contacting Marketing@Reallusion.com | https://www.reallusion.com/character-creator/ |
Provision Files
| File | Purpose | Download Link |
|---|---|---|
| CC base guides | Wrap point matching and mesh tweak guide. | Body Topology Guides |
Preparing the Scan Model for Wrap
Before jumping into R3DS Wrap program, we'll need to prepare the scanned character for easier fitting:
1) Export a neutral character from CC according to the gender of the scan character in FBX format.
2) Bring both the Maya character and scan model in your 3D modeling application of your choice, i.e. Maya.
Keep the scan model within 300,000 to 600,0000 poly count (decimation may be required). Otherwise, the model can be a heavy burden for Wrap to work with.
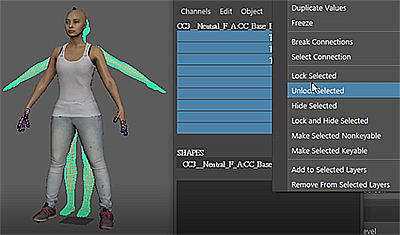
3) Select the top group node and the mesh of the CC character and lock its transformations (translation, rotation, and scale) in order to prevent accidental transformations - if this is available in your modeling program. In essence, the CC base model must be kept stationary!
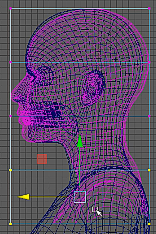
4) Rotate the head bone for the scan character entire the teeth are completely aligned horizontally.
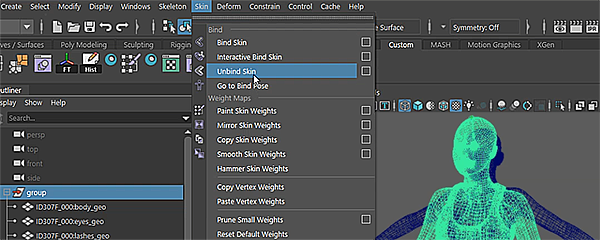
5) Unbind the scanned mesh from the skeleton.
You'll need to bake the deformations to the mesh before unbinding it. This is handled in Maya by deleting the mesh history which also has the effect of unbinding it from the joints.
6) Delete all of the excess scan mesh; leaving just the body and the root node.
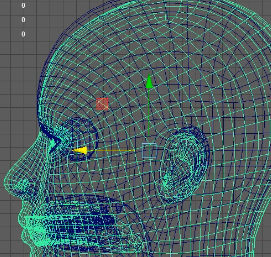
7) Move the pivot point for the scan mesh root node to the center of the head.
8) Reposition the entire scan body by moving the root node to be aligned with the center of the CC base head.
9) Scale the entire scan body to match the overall size of the CC base head. You do not have to align the rest of the body because the CC base body will be used instead.
It's very unlikely to align the two heads perfectly, therefore, err towards having the face align as much as possible.
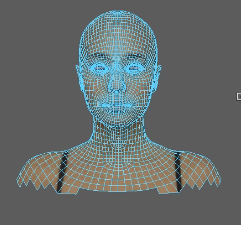
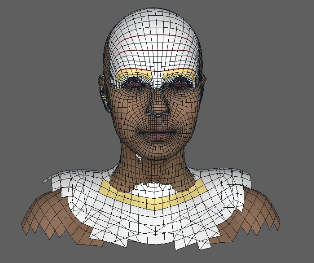
10) Select the mesh faces for the scan character from the shoulder down and delete, leaving only the head and the tops of the shoulders and chest.
You should switch to the front orthographic view when selecting the faces, otherwise the slicing may be slightly slanted.
11) Apply a lattice deformer/modifier to the left-over scan mesh and align the mesh as much as possible to the CC base body, while keeping the facial feature intact and free of distortion.
12) Delete history on the scan mesh to remove the lattice deformer.
13) Once the alignment is complete, save the project and export the scan mesh in OBJ format.
Setup in Wrap
1) Inside Wrap create two LoadGeom nodes; one for the CC base body and another for the 3D scan model processed in and exported from Maya.
You should name everything carefully when working with Wrap nodes, for example, one LoadGeom node can be renamed to "CC Base" and the other to "Scan Mesh". By naming nodes in meaningful ways, the Wrap project can stay kempt and manageable.
2) Create two LoadImage nodes and plug them into each LoadGeom node.
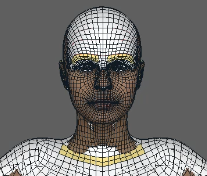
3) Use the LoadImage node for the CC base to bring in the mesh guideline texture and import the diffuse texture for the 3D scan with the other.
4) Create a SelectPolygons node and connect it to the CC base mesh LoadGeom.
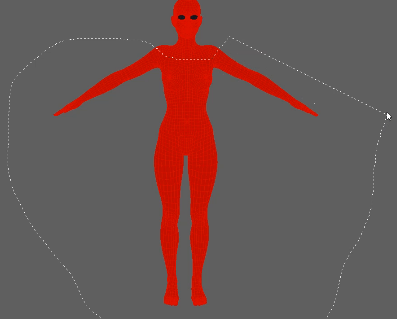
5) Select the newly created SelectPolygons node and deselect the body mesh from the shoulders down by holding CTRL and lassoing around the body below the shoulder line to match the scan mesh.
6) Create a Subset node and connect it to the CC base LoadGeom and SelectPolygons node to isolate the selected mesh.
Don't try to match the cut regions of the CC base and scan mesh perfectly, instead strive to keep the remaining cc base mesh region slightly within the borders of the cut-off scan mesh.
Preparation for Wrap is no now complete, see Scan to CC3+ Wrap Procedures for the next series of steps.
