Content Dev:CTA4 Character Creation Process
- Main article: CTA Actor Creation.
Head Related Bone Point
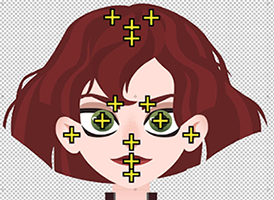
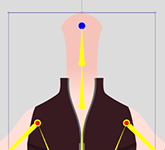
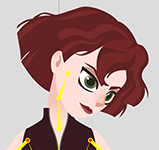
The center point of a long object will be placed close to one end for easy rotational adjustments, such as eyebrows and long hair pieces. The ears will be placed at the sides of the face near the center line with the pivot for the eyes aligned with the pupils. The face sides should be placed below the jaw line matching or near the Head Bone point.
- ⚠ The Bone point is a one-time settings, so it is urgent to get the settings just right before turning the head. Otherwise, modifications to the Bone point will require modifications to the subsequent head-turn settings and expressions.
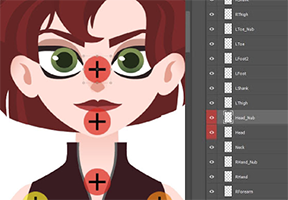
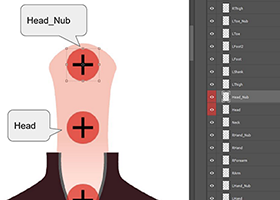
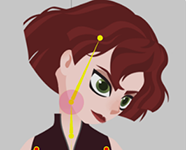
The neck body part must be stretched to the center point of the face with the Head_Nub bone point set at its location. This setting will let the character turn his/her head while the neck bends according to expectation.
Bone Point Parent Relation
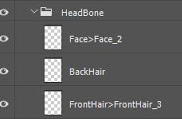
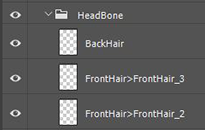
Please make sure that the object is parented under their corresponding parent items to prevent isolated objects. For example, the bangs should be placed under the Front Hair and the facial parts should be placed under the Face. You should name the parts according to their eventual bone names. For example, Face > Face2 means that Face2 is the child bone of Face.
Facial Angle Image Switch Settings
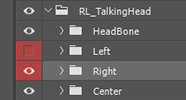
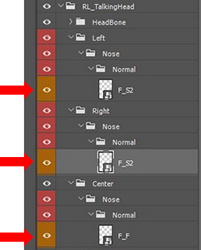
Left and right facial part image switching (like the nose) is designated by the various turning angles in Photoshop. You can download the basic PSD structure template here. The silhouette for the sides of the face is not constructed from switching images, rather it is composited together from various elements which should be placed under the Center category.
You should place the images in the lowest level directory of each category. For example, inside Center > Nose > Normal instead of just Center > Nose or Center. If placed, say in the Center > Nose folder, the element may appear inside the Composer but will become invisible in the Stage.
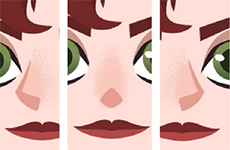
When creating the left and right side graphics, make sure they remain coherent with the center image. Therefore the parts feel as if they are the left and right side of an object. You can utilize differences in outlines and shadows to consolidate the look of the individual parts like in the figure to the left.
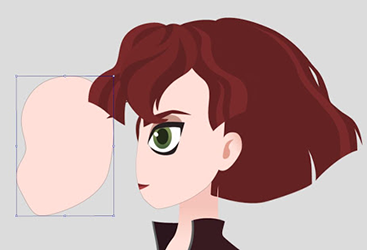
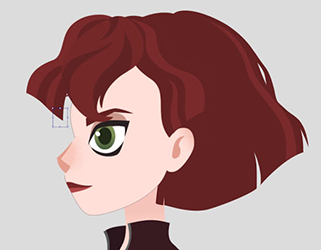
In order to make the head turn believable, you can place different images for different angles of the face. Then composite it with facial elements to simulate a complete head turn to the side.
Head Turn Settings
-
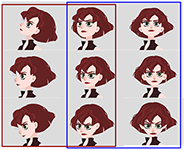
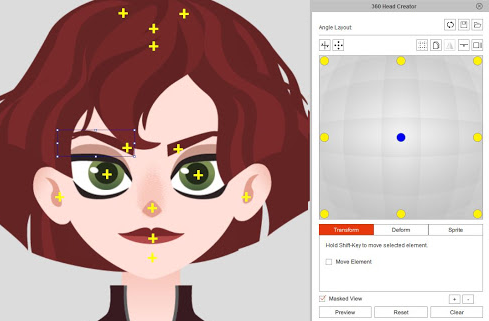 The head turn supports 9 different angles: left up and down, center up and down, and right up and down.
 -
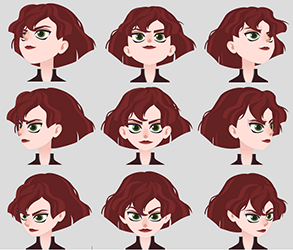 Example of the head illustrated head angles.
You can save some time by creating one side first (either the left or right) for the face turn and mirroring that over to create the opposite side. Some parts such as the eyes, eyebrows and ears have left and right configurations. You can also designate complementary parts using the Pairing Settings under Mirror Options.
File Import/Export Settings
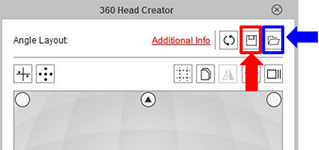
Once you have set the 9 angle points, you can press the save button (highlighted in red) to save the current settings or the current progress. You can also load configured settings using by clicking on the load button (highlighted in blue).
- Keep in mind that child and parent names should match. For example, FrontHair3 should be placed underneath FrontHair and not Backhair. Non-matching names will cause the items to not adopt the movement settings.
- Size of the PSD graphical elements should also be relatively the same as those in the Cartoon Animator. When the size differences are too great, the movement range will differ significantly when the head turns.
- If you are unsure of the look for the 45 degree head turn, then it is best to first create the 0 and 90 degree head turn composition. This makes easier to infer the look for the 45 degree head turn and inform you on the facial feature positions and sizes. You can then save the file to preview the head turn and make adjustments to the facial features as needed.
Advanced Process Example
- If you are creating a character in the style of an embedded character, then it is recommended that you first create the quarter view (45 degrees). After you save the foundational settings for the head turn you can process the front view (0 degrees) and the side view (90 degrees).
- Front and quarter view upward and downward tilt will require the adjustment of facial features and changes to the shape of the face. For the side view, simple head rotation for upward and downward tilt should be sufficient.
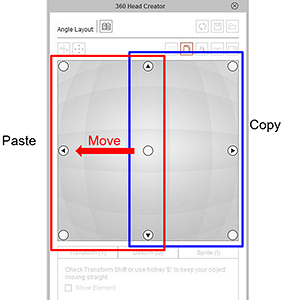
- Once the quarter view is imported, use copy and paste to duplicate the head settings to the opposite side.
