Content Dev:CC Accessory Creation Guide
From Reallusion Wiki!
Revision as of 00:35, 3 June 2017 by Miranda-reallusion (Talk | contribs) (Miranda-reallusion moved page CC Accessory Creation Guide to Content Dev:CC Accessory Creation Guide)
Main article: CC Asset Development .
Any hard object that does not need to conform to the body and carries with it its own set of material and textures without the assistance of Appearance Editor is considered an accessory. Piercings, glasses, hats fall under this category. Of all the asset types, accessories are the most straightforward to create, however keep the following points in mind:
- Accessories can carry bones but may not be bound to the bones of the body.
- An accessory requires a parent bone to be recognized as such.
- Accessories should carry their own custom textures and materials (no Appearance Editor).
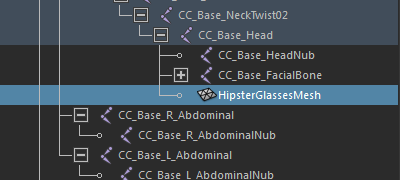
 Here the glasses mesh is parented to the head bone.
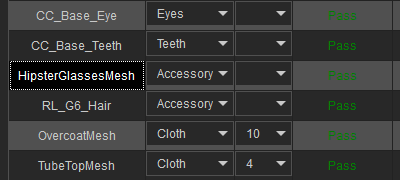
 Once inside CC, it is recognized as an accessory.
General Workflow
- Attach the accessory under a parent bone.
- Export as the entire character as (*.fbx) to CC.
- Categorize and assign a layer.
- Adjust materials and textures by using the Appearance Editor.
- Store the accessory in (*.ccAcc) format.
Legitimate Parent Bones
The bone that the accessory is attached to is the one that dictates it's transformations. It is essential have the accessory attached to the right bone in the skeleton hierarchy.
| Parent Bone | Recommended for... |
|---|---|
| CC_Base_Head | Glasses, earrings, hats, etc. |
| CC_Base_NeckTwist02 | Collars, bows, etc. |
| CC_Base_Spine02 | Pendants, etc. |
| CC_Base_X_FingerXX | Rings, brass knuckles, etc. |

